Whether you're brightening up a single room or transforming the entire aesthetic of your living space, a fresh coat of paint can do wonders for your home. Yet, for many homeowners, the excitement of a DIY painting project can quickly turn into frustration due to common pitfalls. Mistake-free painting is achievable, but it requires thoughtful planning and a bit of know-how. This guide will walk you through the most common painting mistakes, along with expert tips on how to avoid them, ensuring that your home's new look is flawless and professionally finished.
Contents
Understanding Surface Preparation
The Importance of Cleaning and Repairing
The first mistake many homeowners make when painting is neglecting the preparation of the surface. A clean, smooth, and repaired surface will hold paint better and appear much more polished. Before applying paint, ensure your walls are clean, dry, and free of any dust or grease. Use a mild detergent to clean areas that might have oil or grime, frequently common in kitchens or near switches and outlets.
Fix any cracks or holes using appropriate fillers. If you're dealing with larger repairs, like fixing plaster or drywall damage, ensure these repairs are sanded smooth once dry. Uneven surfaces can cause paint to chip or peel over time, negating your hard work.
The Role of Primer
Never underestimate the value of a good primer. Primer can seal any repairs, cover small imperfections, and create a uniform surface that allows paint to adhere properly. This is especially important if you're painting over a dark color with a lighter shade or are using latex paint over an oil-based variety. Consult with a paint professional if you're unsure of which primer to use for your specific circumstances.
Selecting the Right Tools
Brushes and Rollers
Choosing the right brushes and rollers is critical for achieving the best results. A common mistake is using one brush or roller for the entire project. Different surfaces require different tools. For instance, a high-quality synthetic brush is ideal for water-based paints, while natural bristle brushes work best with oil-based paints.
Similarly, rollers come in different nap lengths. Smooth surfaces benefit from shorter naps, whereas textured surfaces like drywall might require a longer nap for an even coat. Investing in good quality brushes and rollers will pay off in the ease of application and the final appearance of your work.
The Role of Painter’s Tape
For clean, professional-looking lines, painter's tape is essential. Another frequent mistake is skipping this step, leading to paint bleeding onto trim or the ceiling. Apply the tape carefully, pressing down the edges thoroughly to ensure it seals correctly. Be sure to remove it before the paint fully dries to avoid peeling.
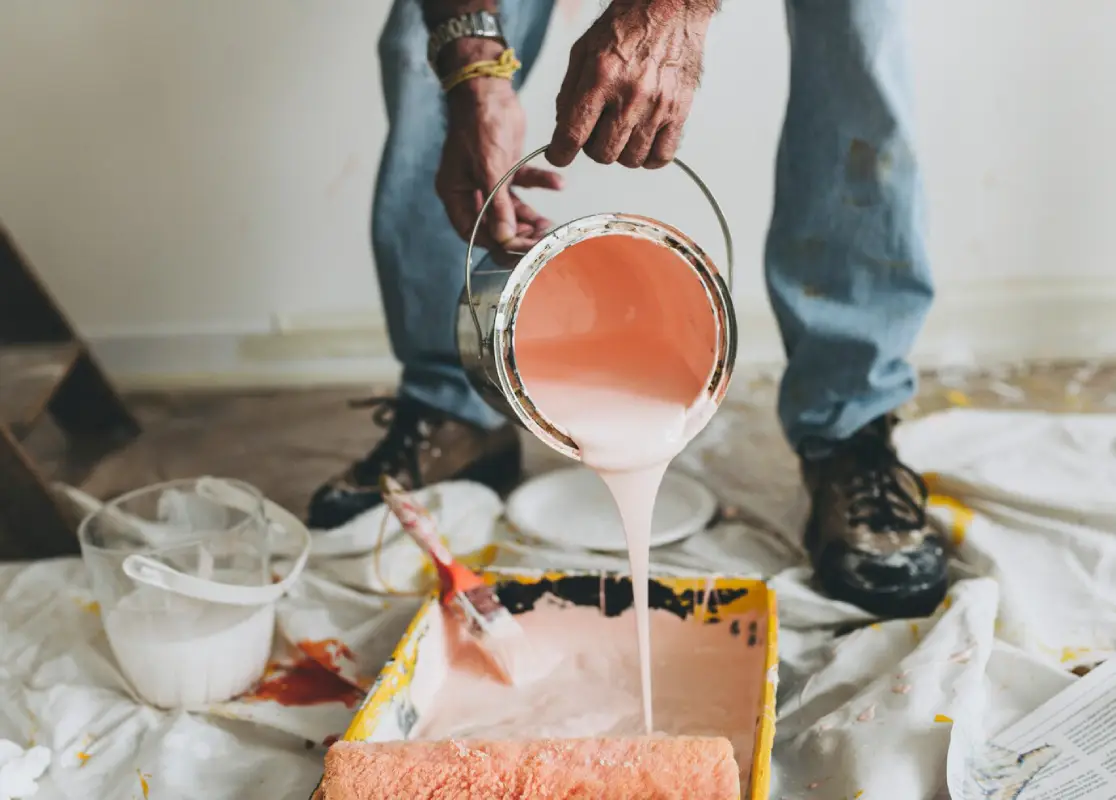
Choosing the Right Paint
Understanding Paint Types
Each type of paint has specific properties that make it suitable for different situations and applications. Not fully understanding the types can result in poor selection and, consequently, unsatisfactory results. For example, flat paints may hide imperfections better but are less durable compared to eggshell or satin finishes, which are ideal for high-traffic areas like hallways or living rooms.
Knowing the difference between interior and exterior paints is also crucial. Exterior paints are formulated to withstand weather and temperature changes, while interior paints often focus on being easy to clean and having minimal odor.
Color Selection
Picking the right color can be a daunting task and it's easy to make a mistake here. Utilize paint samples or small sample pots. Apply these to a small section of your wall and observe how the color changes throughout the day as light shifts. Consider the mood you want to create and be mindful of trends versus long-term appeal.
Mastering Application Techniques
The Cut and Roll Technique
For a uniform finish, adopt a technique where you 'cut in' around edges and corners with a brush and then fill in the larger areas with a roller. This method prevents a harsh line between the paint rolled and the paint brushed on. 'Cut in' small sections at a time, merging with an adjacent section if you have to stop, so everything blends seamlessly when finishing.
Maintaining a Wet Edge
Always maintain a wet edge whenever possible to prevent lap marks, especially when painting large surfaces. This involves overlapping the previous stroke slightly with new paint while it is still wet, which helps with blending and avoids noticeable lines.
Common Timing and Environmental Considerations
Timing Your Paint Job
Timing in terms of weather and home conditions can significantly affect the quality of your painting project. Avoid painting in extreme temperatures (either hot or cold) or high humidity, as these conditions can adversely affect the paint’s drying time and finish.
Ventilation
Proper ventilation is crucial not only for comfort but also for ideal drying conditions. Poor ventilation can trap fumes and increase the dry time, potentially leading to issues like bubbling or an uneven finish. Ensure that your workspace is well ventilated, with windows open and fans used if necessary.
Conclusion
Achieving a professional-quality paint job at home is within reach when you know how to avoid the typical mistakes. By focusing on proper preparation, choosing the right tools and materials, and employing reliable application techniques, your DIY painting project can transform your home into the stunning space you envision. Remember, the devil is in the details and taking the time to plan and execute each section carefully will reflect in the impeccable finish of your walls. Happy painting!


Leave a Reply
You must be logged in to post a comment.